How To - Cheap rear main/thrust cap puller
Posted: Sun Sep 28, 2014 9:52 pm
Budget - rear main/thrust cap puller
In this How-To we'll be making a cheap dirty budget rear-main , and thrust bearing cap puller.
Required Materials
*Welder (arc/mig)
*Grinder with cut off wheel/Metal chop saw
*Drill press or drill w/drill bits.
*Safety glasses.
*Work Gloves.
*Scrap 3/16-1/4 bar stock (about 1ft will do).
*5ft of 1-inch or 3/4 square mild steel tubing.
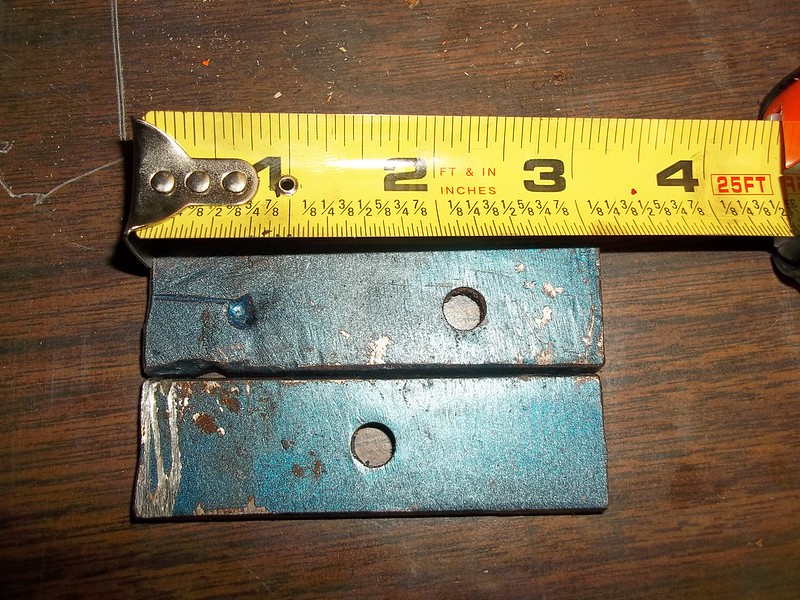
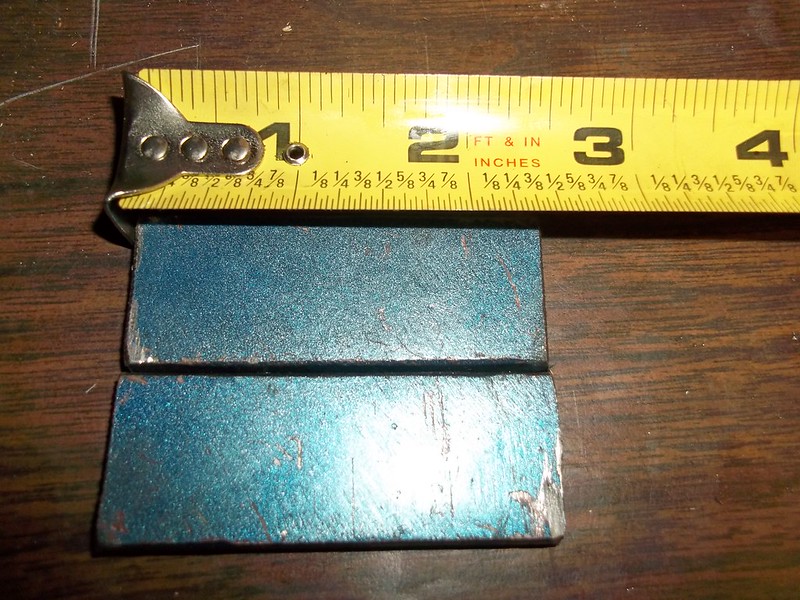
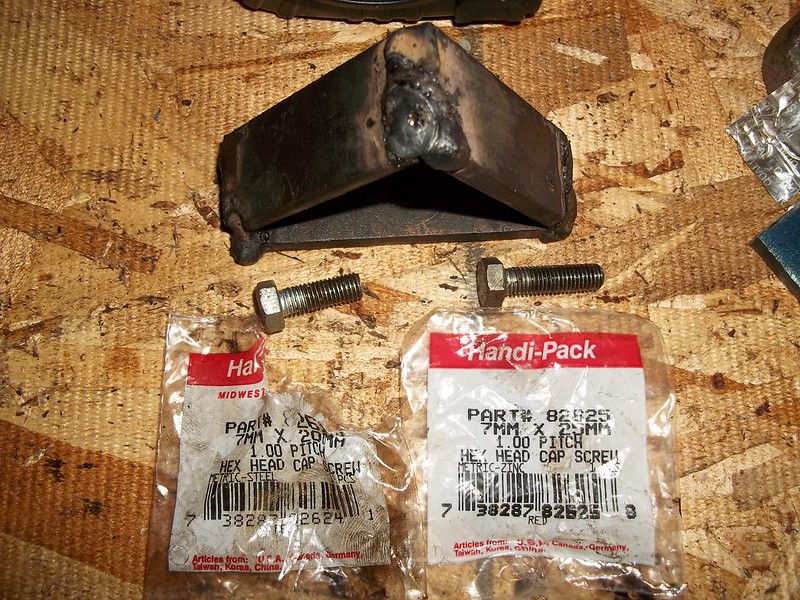
(STEP 1) --- Building a trianglur shape to be able to bolt to the rear main , and thrust bearing caps (they are pre-threaded for this). The piece with the hole drilled in the center is what we'll be using.
 007 by 71240z, on Flickr
 008 by 71240z, on Flickr
 010 by 71240z, on Flickr
A 9/32nd's bit was used I believe (it's been a while).
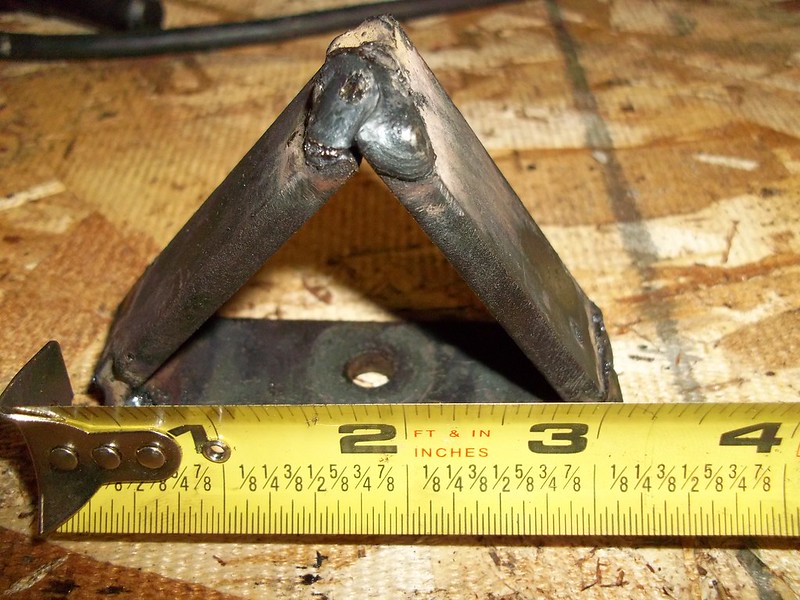
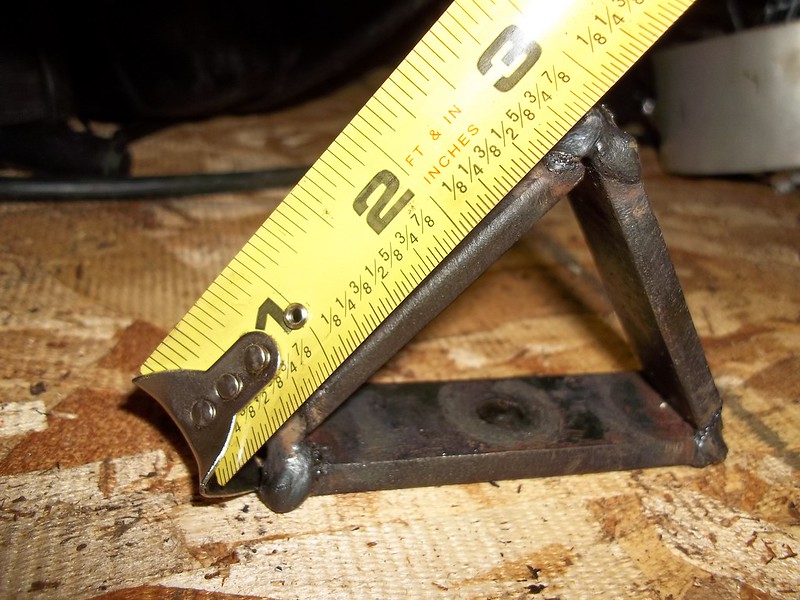
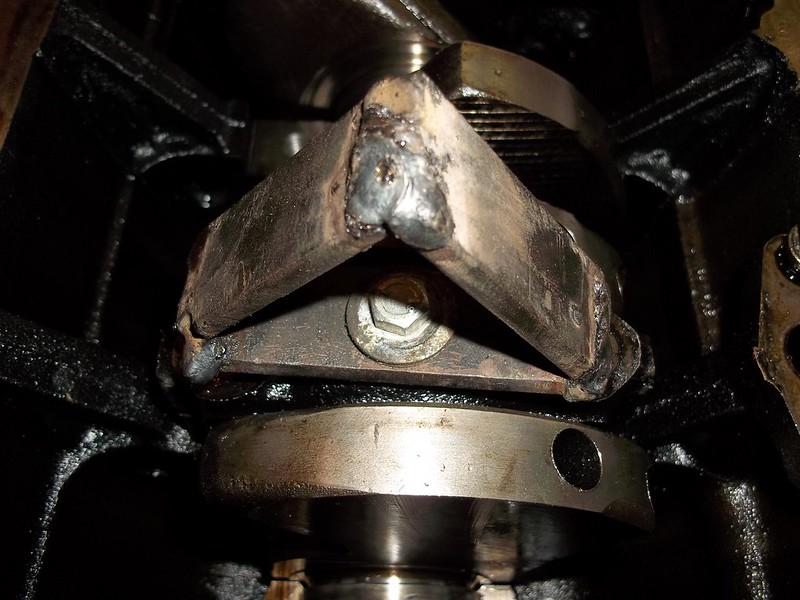
(STEP 2) --- Weld it all together like the picture below , and bolt it to the main cap.
 020 by 71240z, on Flickr
 022 by 71240z, on Flickr
 028 by 71240z, on Flickr
 014 by 71240z, on Flickr
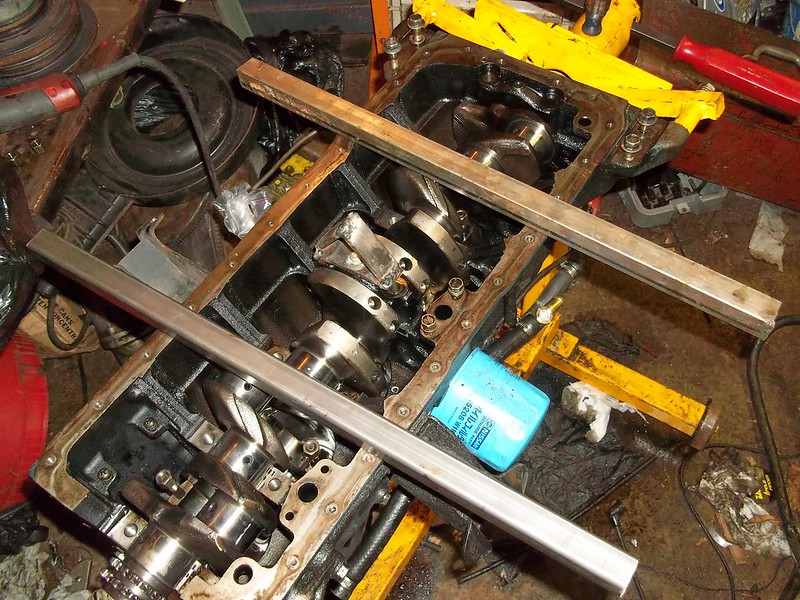
(STEP 3) --- Cut (3) pieces of (1.5ft sections) of the 1-inch or 3/4-inch square tubing , and place (2) of the pieces on the block like in the picture below.
 016 by 71240z, on Flickr
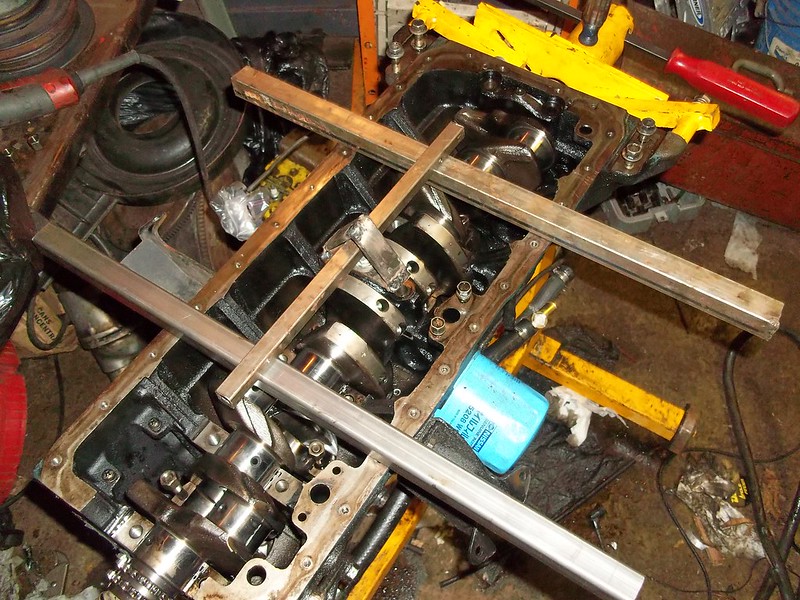
(STEP 4) --- Lay the 3rd piece that was cut in step 3 on the block like the picture below.
 017 by 71240z, on Flickr
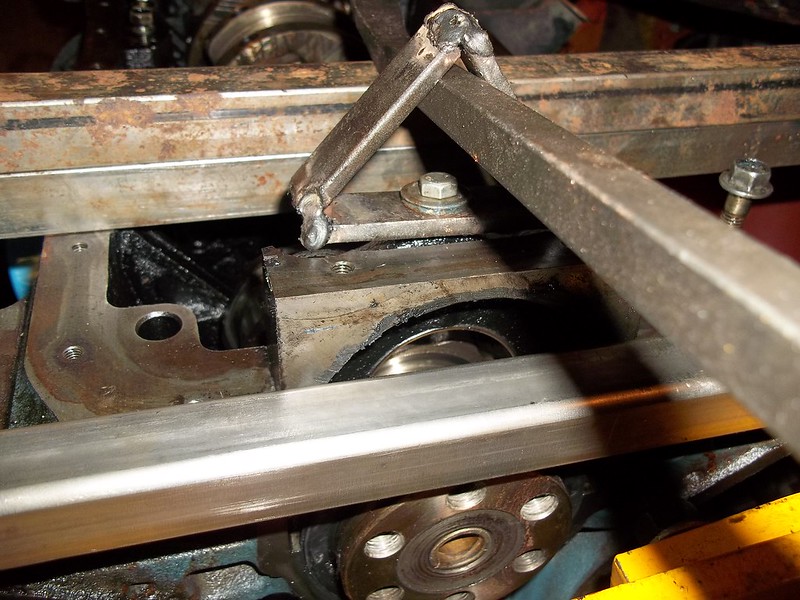
(STEP 5) --- Rear main cap pulling. This requires stacking (2) of the square tubes in the front braced across the block (like the picture below)) , and the third in the rear (like the picture below) , and finally sticking a pry bar through the center while lifting up to pull the cap.
 031 by 71240z, on Flickr
 032 by 71240z, on Flickr
In this How-To we'll be making a cheap dirty budget rear-main , and thrust bearing cap puller.
Required Materials
*Welder (arc/mig)
*Grinder with cut off wheel/Metal chop saw
*Drill press or drill w/drill bits.
*Safety glasses.
*Work Gloves.
*Scrap 3/16-1/4 bar stock (about 1ft will do).
*5ft of 1-inch or 3/4 square mild steel tubing.
(STEP 1) --- Building a trianglur shape to be able to bolt to the rear main , and thrust bearing caps (they are pre-threaded for this). The piece with the hole drilled in the center is what we'll be using.
007 by 71240z, on Flickr008 by 71240z, on Flickr010 by 71240z, on FlickrA 9/32nd's bit was used I believe (it's been a while).
(STEP 2) --- Weld it all together like the picture below , and bolt it to the main cap.
020 by 71240z, on Flickr022 by 71240z, on Flickr028 by 71240z, on Flickr014 by 71240z, on Flickr(STEP 3) --- Cut (3) pieces of (1.5ft sections) of the 1-inch or 3/4-inch square tubing , and place (2) of the pieces on the block like in the picture below.
016 by 71240z, on Flickr(STEP 4) --- Lay the 3rd piece that was cut in step 3 on the block like the picture below.
017 by 71240z, on Flickr(STEP 5) --- Rear main cap pulling. This requires stacking (2) of the square tubes in the front braced across the block (like the picture below)) , and the third in the rear (like the picture below) , and finally sticking a pry bar through the center while lifting up to pull the cap.
031 by 71240z, on Flickr032 by 71240z, on Flickr